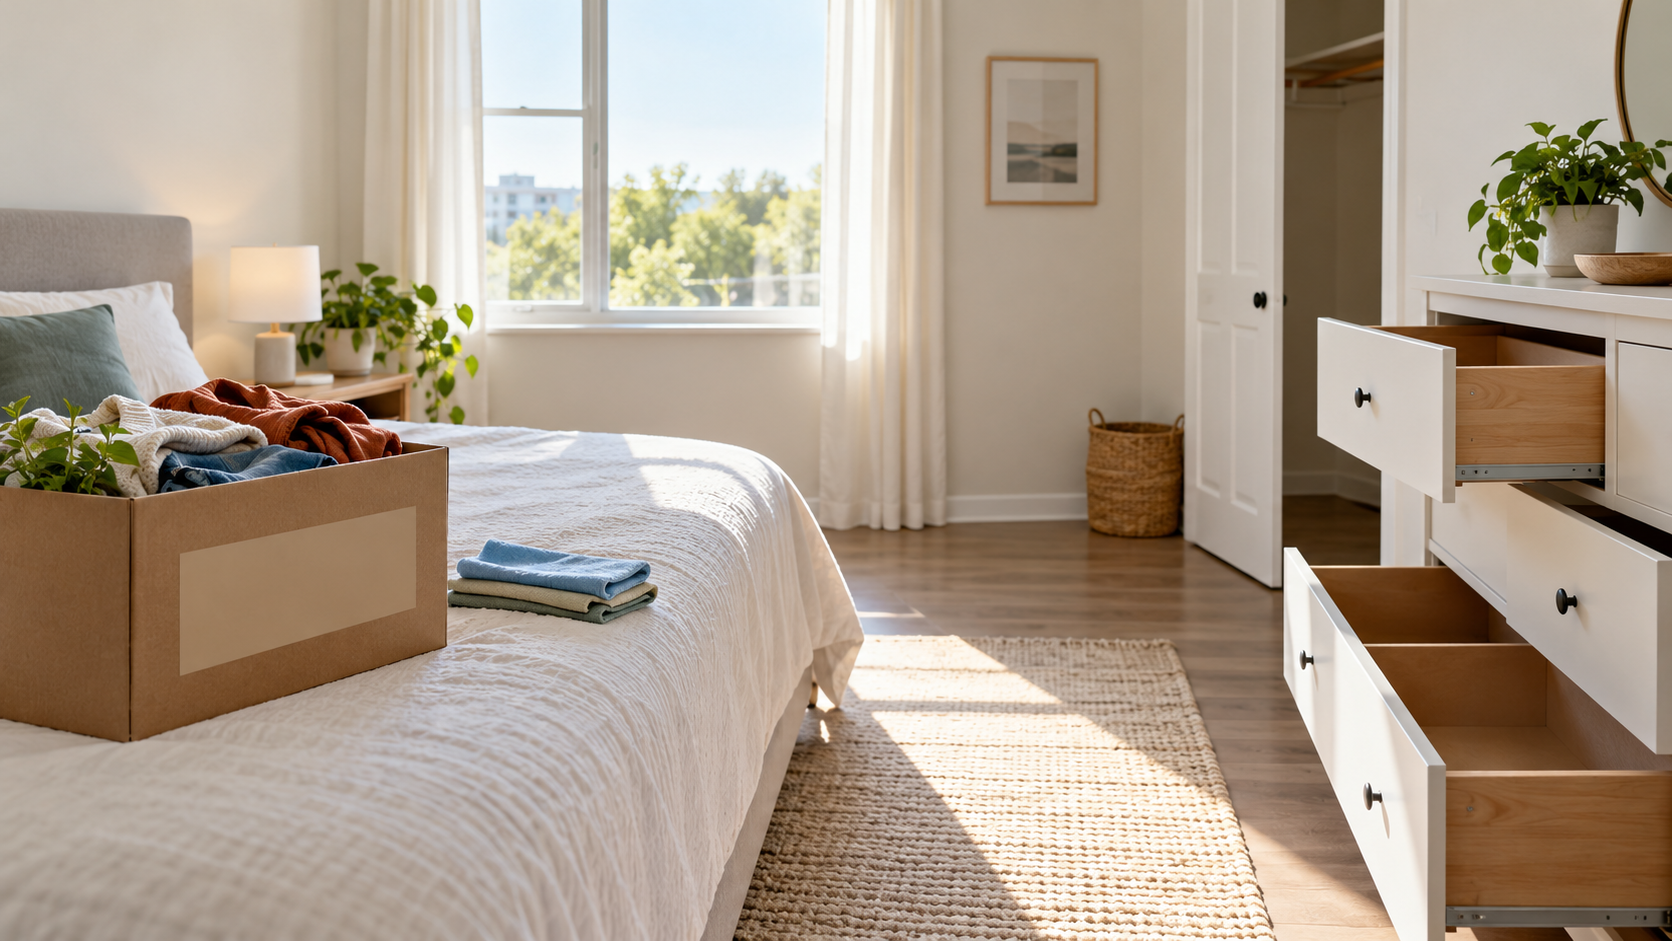
Start With a Timeline and a Trash Strategy
Moving out of a rental property rarely happens overnight. To avoid the midnight panic of scrubbing baseboards while your packed boxes block the front door, break the process down into a multi-day timeline. Begin two weeks before your lease end by sorting through belongings, listing items for donation, and packing non-essential items like out-of-season clothing and decorative art. Renters often underestimate how much trash they will generate. Coordinate with your building management or local waste services ahead of time regarding bulk trash pickup days so you do not leave unwanted furniture or overflowing bags by the curb, which can result in fines.
Before you lift a single sponge, review your original lease agreement alongside the condition report you filled out when you first moved in. Note any pre-existing damage so you do not spend time trying to fix flaws that were already there. Always check your lease and surface or manufacturer instructions before using adhesives, hanging hooks, or attempting heavy cleaning methods on specialized surfaces like natural stone or laminate.
The Kitchen: Degreasing Appliances and Cabinets
The kitchen demands the most intensive cleaning effort because of grease buildup around the stove, food remnants inside appliances, and sticky spots on cabinet doors. Empty all cupboards and drawers completely, wiping down the interior shelving with a damp cloth and mild dish soap to remove crumbs and spills. Pay close attention to the pantry and under-sink areas, where leaks or residue often hide.
Tackle large appliances systematically:
- Refrigerator: Unplug the unit, remove all shelves and drawers, and wash them with warm soapy water. Wipe down the interior walls and door seals, leaving the door propped open slightly after drying to prevent mildew odors.
- Oven and Stove: Remove burner grates and drip pans. Apply a generic surface cleaner or paste according to the manufacturer’s guidelines, let it sit to loosen baked-on grease, and scrub gently to avoid scratching enamel.
- Dishwasher and Microwave: Wipe the interior of the microwave and run a short cycle in the dishwasher using a generic cleaner to clear out food particles from the filter and spray arms.
Bathrooms: Tackling Soap Scum and Grout
Bathrooms accumulate soap scum, hard water spots, and mildew over weeks of daily use. Begin by clearing out all personal toiletries, medicine cabinets, and under-sink storage. Wipe down the interior of all vanity drawers and medicine cabinet mirrors.
For tubs, showers, and tile walls, apply a generic bathroom cleaner and allow it to penetrate soap scum before scrubbing with a non-abrasive pad. Rinse thoroughly with warm water to prevent a hazy residue from drying on the tiles. Clean the toilet thoroughly, including the base, tank, and behind the seat hinges. Finish by polishing the faucets and showerheads with a microfiber cloth to remove water spots, and sweep and mop the floor, starting from the corner farthest from the door.
Living Areas and Bedrooms: Walls, Baseboards, and Closets
Living rooms and bedrooms generally require less heavy scrubbing than kitchens and bathrooms, but they involve detailed surface work. Start by removing any wall anchors or nails. Always check your lease and surface or manufacturer instructions before using adhesives, fillers, or paints. If your lease permits minor patching, fill nail holes with a generic spackle using a putty knife, let it dry completely, and sand it flush with the surrounding wall. Avoid repainting unless you have explicit, written approval from your landlord and the exact color match.
Work your way from top to ceiling fixtures, dusting fan blades and light fixtures. Next, clean windowsills and blinds by wiping them down with a damp cloth. Check the inside of every closet, ensuring no stray hangers, shelving liners, or personal items are left behind. Finally, vacuum carpets thoroughly, moving slowly in overlapping passes to pick up embedded dust and pet hair. If you rent a carpet cleaning machine, ensure the carpets have enough time to dry entirely before your final walkthrough.
Final Walkthrough and Key Handover
The final phase of your move-out reset is the walkthrough inspection, which secures your security deposit return. Walk through every empty room with your move-in checklist in hand. Test all light switches, check that all windows and doors are securely locked, and ensure no trash or personal property remains in storage lockers or parking spaces.
Take clear, well-lit photographs of every room, including inside the appliances, closets, and any repaired areas, to create an objective record of the property’s condition upon your departure. Gather all sets of keys, garage door openers, pool passes, and parking permits into a single envelope to hand directly to your landlord or property manager. Confirm your forwarding address in writing so your security deposit can be mailed without delay.