Author: pikaro_manager

  • Warm Up a Drafty Apartment Without Losing Your Deposit

    Warm Up a Drafty Apartment Without Losing Your Deposit

    Living in a drafty apartment can turn changing seasons into a constant battle against uncomfortable indoor temperatures. When cold air sneaks in around windows and doors, or when heat escapes through uninsulated glass, your living space never quite feels cozy, and your utility bills can climb. For renters, the challenge is finding ways to improve energy efficiency without risking security deposits or violating lease agreements. Fortunately, many effective methods for sealing drafts require no permanent hardware, drilling, or specialized contracting skills.

    Check Your Lease and Surfaces

    Before applying any temporary weatherstripping, adhesive film, or hanging hardware, review your rental agreement to understand what modifications are permitted. Some landlords have strict rules about adhesives, tapes, or hanging items on walls and trim. Always test any tape, adhesive strip, or hanging product on a small, hidden area of paint, wallpaper, or woodwork to ensure it will not strip finishes or leave stubborn residue when removal time comes. Carefully follow the manufacturer instructions regarding maximum weight limits, surface compatibility, and removal techniques to protect your security deposit.

    Seal Windows Without Permanent Changes

    Windows are notorious culprits for letting outdoor air leak into an otherwise comfortable room. To address this without altering the window frame, consider using temporary window insulation film. This clear plastic sheeting is stretched across the window opening and secured with double-sided tape, then tightened using a common handheld hair dryer to create a taut, insulating barrier that traps a layer of air against the glass. Another renter-safe option is applying temporary foam weatherstripping or removable rope caulk along the moving edges of the window sash where you feel air currents. Rope caulk can be pressed gently into gaps by hand and peeled away cleanly when warmer weather returns.

    Block Drafts at Exterior Doors

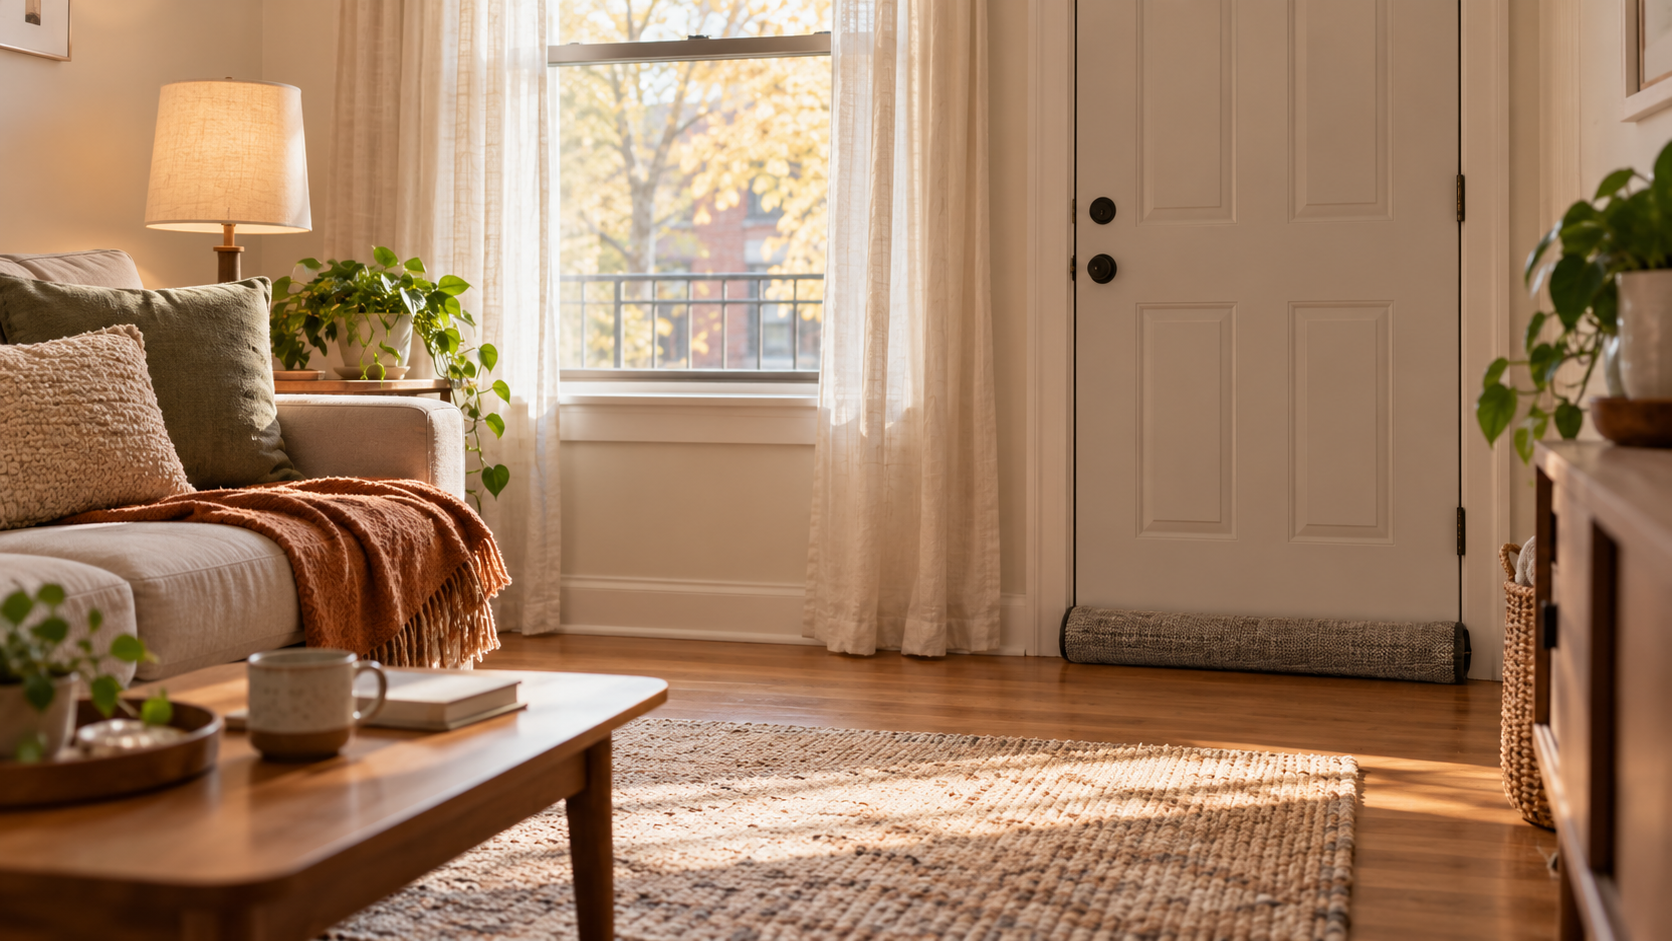
    Exterior doors, and even interior doors leading to unheated stairwells or hallways, frequently allow large volumes of air to move freely into your living space. A heavy fabric door draft stopper laid along the threshold requires zero installation and can be moved easily whenever you open or close the door. For gaps around the sides and top of the door frame, adhesive-backed foam or rubber weatherstripping can be cut to length and pressed securely against the door stop. Be sure the weatherstripping is not so thick that it makes closing the door difficult, which can strain latches and hinges.

    Layer Window Coverings for Thermal Control

    Standard rental window blinds rarely provide enough thermal resistance to keep winter chill out or summer heat from radiating indoors. Layering your window treatments is an effective strategy that requires minimal hardware. If your apartment already has curtain rods installed, you can hang heavy thermal curtains or layered drapes to trap a pocket of air between the fabric and the glass. If you need to install your own hardware, use renter-safe hanging hooks designed for drywall or wood trim, ensuring you do not exceed the stated weight capacity of the brackets. Closing these heavy drapes during the coldest parts of the day or when the sun is not shining directly on the window helps stabilize indoor temperatures.

    Manage Airflow and Heating Elements

    How you manage your apartment’s existing heating and cooling equipment significantly affects both comfort and energy use. Keep radiators, baseboard heaters, and floor vents completely clear of furniture, rugs, and heavy drapes so that air can circulate freely throughout the rooms. If furniture blocks a vent, heat cannot enter the living space efficiently, forcing your heating system to work harder than necessary. For a foundational overview of low-cost ways to improve efficiency, consult guidance from Energy Star. Additionally, simple behavioral adjustments—such as utilizing ceiling fans on a low, clockwise setting during colder months to gently push rising warm air back down into the living zone—can make a noticeable difference in how warm a room feels without touching the thermostat.

    Utilize Textiles to Add Warmth

    Hard flooring materials like hardwood, laminate, or tile can feel intensely cold during chilly months, contributing to a drafty sensation even when the air temperature is reasonable. Laying down large area rugs, especially when paired with a thick rug pad underneath, provides a layer of physical insulation against cold subfloors. Similarly, adding soft blankets and heavier throw pillows to seating areas creates micro-climates of warmth, reducing your reliance on space heaters. If you do choose to use a portable electric space heater as a supplementary heat source, always operate it safely by keeping it away from curtains, bedding, and foot traffic, and plug it directly into a wall outlet rather than an extension cord.
    Further reading

  • A Calm Pest-Prevention Routine for Renters

    A Calm Pest-Prevention Routine for Renters

    Understanding Apartment Pest Pressures

    Living in a multi-family building means sharing walls, hallways, and utility lines with neighbors. This shared architecture inevitably means that pests like ants, mice, and cockroaches can travel between units. Because you cannot control your neighbors’ housekeeping habits, your best defense is creating an inhospitable environment inside your own four walls. Rather than scrambling to react after an infestation begins, adopting a calm, steady prevention routine keeps unwanted guests from moving in permanently.

    A proactive mindset shifts the focus from harsh chemicals to physical barriers and environmental controls. By managing moisture, eliminating food sources, and sealing tiny gaps, you make your apartment the least appealing stop in the building. This approach is safe for daily living, inexpensive, and entirely within your control as a renter.

    Mastering the Kitchen Food Supply

    Pests do not look for messy homes; they look for calories. The most effective way to deter them is to remove accessible food sources entirely. Start by evaluating how you store dry goods in your pantry and cabinets. Thin cardboard boxes and paper bags offer zero resistance to mice and pantry moths, which can easily chew through packaging to reach flour, cereal, oats, and pasta.

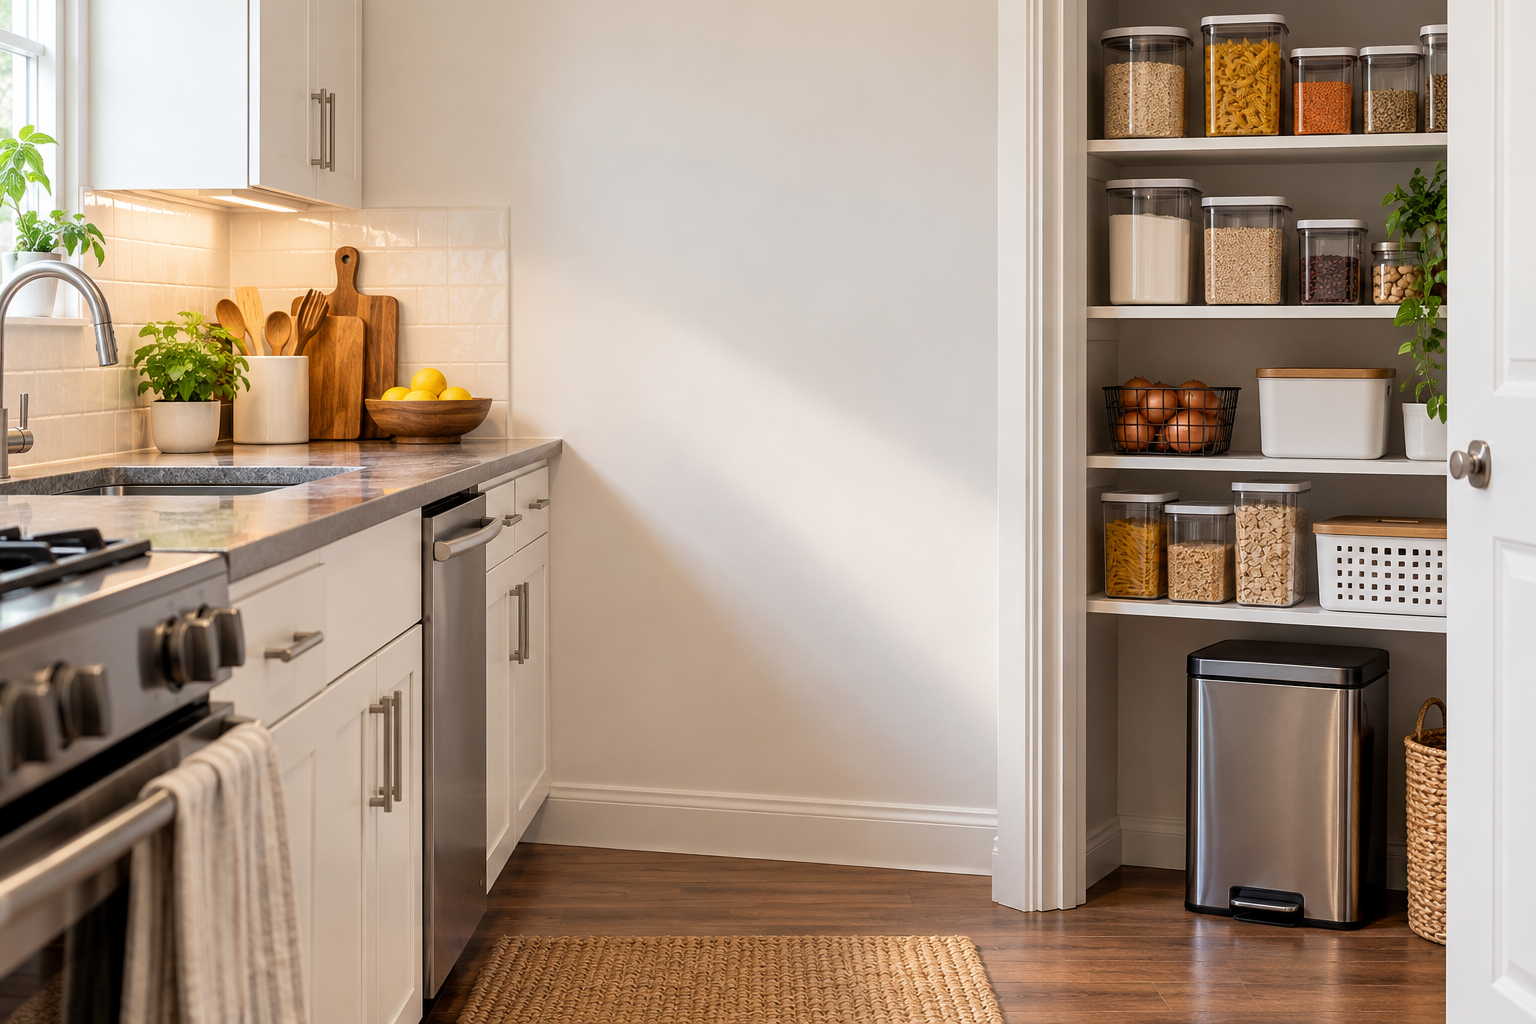
    Transfer vulnerable dry goods into rigid, clear storage containers made of heavy-duty plastic or glass with tight-fitting rubber gaskets. Wipe down the sticky rims of honey jars, syrup bottles, and condiment containers before returning them to the pantry or refrigerator. In the main kitchen space, adopt a strict policy of wiping down counters and sweeping crumbs off the floor daily. Leaving dinner debris overnight is an open invitation for nighttime foragers.

    Managing Moisture and Water Access

    While food is critical, water is often the limiting factor for household pests. Cockroaches and silverfish, in particular, can survive for weeks without food, but they cannot live without moisture. Your bathroom and kitchen are prime targets unless you actively manage humidity and leaks.

    Make a habit of checking under your kitchen and bathroom sinks weekly for any signs of slow drips, damp wood, or condensation pooling around pipes. Keep your bathtub dry by wiping down the basin after use if it tends to hold water. In the bathroom, always run the exhaust fan during showers and leave it on for twenty minutes afterward to draw out humidity that attracts damp-loving insects. Promptly wash and dry dish towels rather than leaving damp piles in a hamper or over the oven handle.

    Sealing Entry Points and Gaps

    Pests enter apartments through surprising small spaces, including gaps around baseboards, utility pipes, and poorly fitted doors. Walk through your apartment and inspect the perimeter of every room for potential entry points. Mice can squeeze through openings the size of a dime, while insects need even less clearance.

    Check the bottom of your front entry door. If you can see daylight underneath, pests have a clear highway into your hallway. Before applying any temporary weatherstripping, draft guards, or adhesive sweeps to doors or baseboards, renters should check their lease and surface or manufacturer instructions to ensure these materials will not damage paint or trim upon removal. For small gaps around plumbing pipes under sinks, talk to your landlord or maintenance team to ensure proper sealing materials are used, as building maintenance is typically the landlord’s responsibility under standard lease agreements.

    Smart Waste Management

    Your trash can is the ultimate buffet for urban and suburban pests. Letting garbage pile up or using bins without secure lids is an open invitation for ants, flies, and rodents. Choose a kitchen trash can with a tight-fitting, functioning lid, preferably one operated by a foot pedal so your hands remain free and clean.

    Empty your kitchen trash daily, especially if it contains food scraps, meat packaging, or vegetable peelings. For compost, keep containers sealed tightly in the refrigerator or freezer until you make a trip to the building disposal chute or outdoor bins. Periodically wash out your main indoor trash can with soap and warm water to eliminate invisible organic residues and odors that linger in plastic.

    Collaborating with Building Management

    No matter how diligent your personal routine is, an apartment building functions as a single ecosystem. If a neighboring unit experiences a pest issue, those pests may migrate into common areas or adjacent apartments. Clear communication with your landlord or property management is essential for maintaining a healthy home.

    Report any building-wide vulnerabilities, such as unsealed utility penetrations in utility closets or exterior doors that fail to latch shut, to management immediately. Review your lease agreement to understand the building’s pest control policies, including scheduled preventative treatments or reporting procedures. For additional guidance on resident-focused pest management practices, consult public health resources like https://www.epa.gov/safepestcontrol/pest-control-resources-residents to ensure your approach aligns with established safety standards.

    Further reading

  • The 20-Minute Apartment Fire-Safety Check

    The 20-Minute Apartment Fire-Safety Check

    Introduction to Renter Fire Safety

    Apartment living offers convenience and community, but sharing walls with multiple neighbors introduces distinct fire-safety considerations. While landlords hold responsibility for the structural integrity of a building and the maintenance of shared systems, renters manage the day-to-day conditions inside their living spaces. Taking twenty minutes to complete a thorough safety review helps mitigate common domestic hazards without requiring permanent alterations or costly upgrades.

    Because renters must respect lease terms and avoid damaging property, safety measures must rely on non-permanent solutions and daily habits. Developing a routine check ensures that life-saving equipment remains functional and potential ignition sources are properly managed. This guide breaks down the essential steps every renter can take to secure their apartment, focusing on practical actions that fit within standard lease agreements.

    Inspect Smoke and Carbon Monoxide Alarms

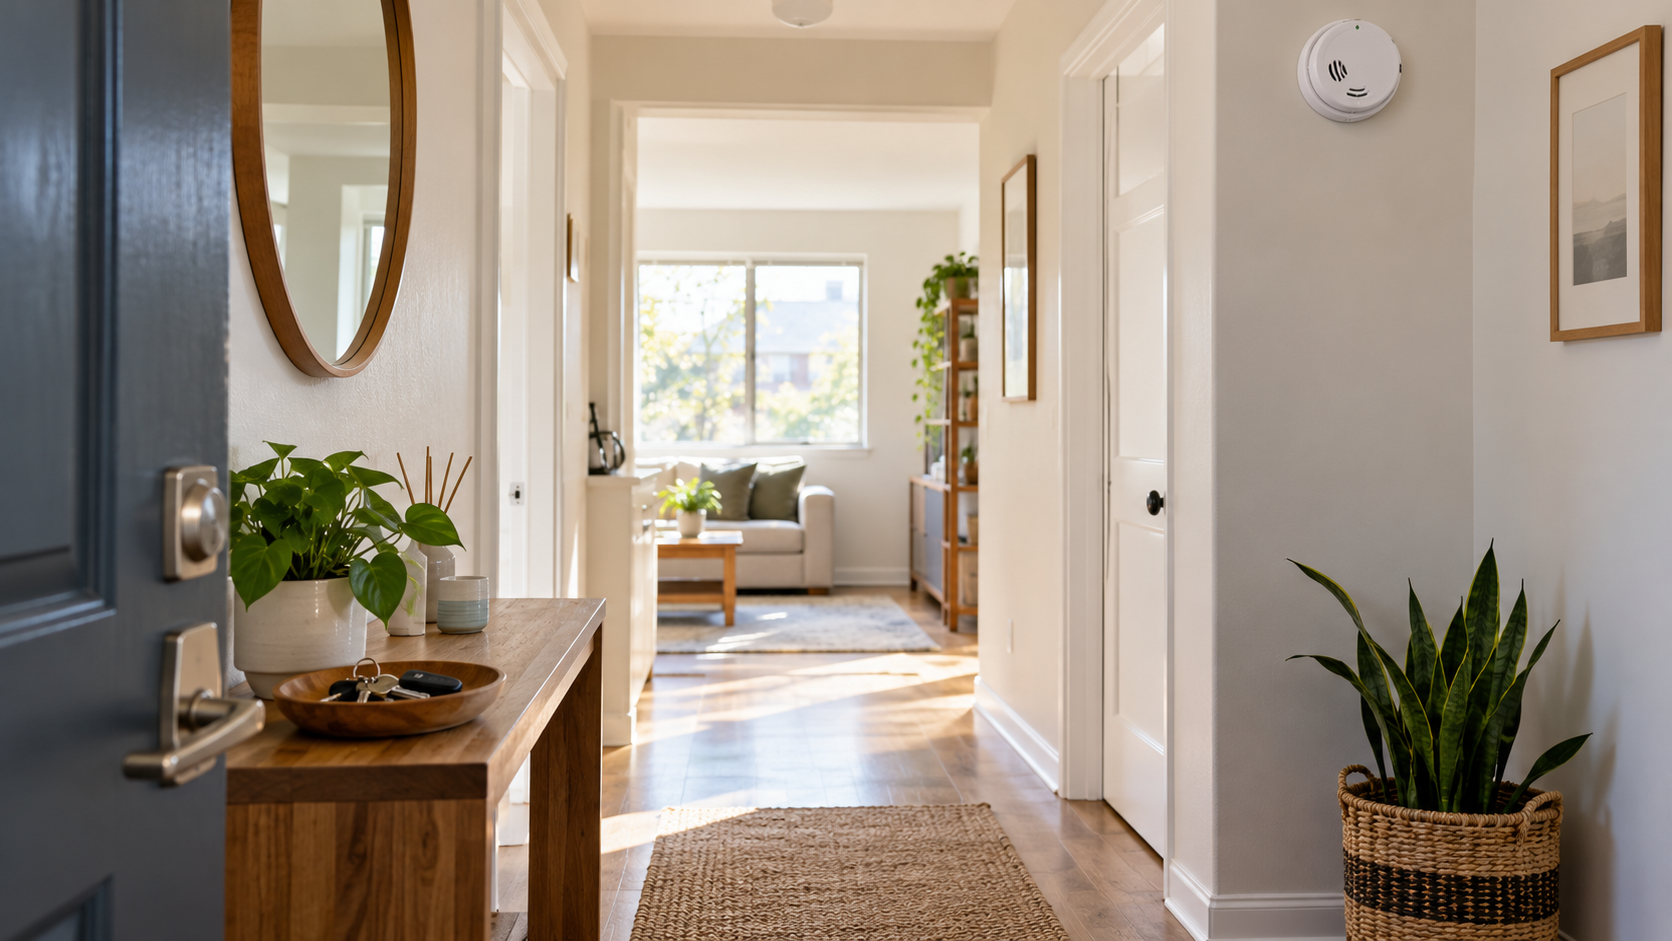
    Working alarms provide the earliest possible warning during a fire emergency, giving residents critical seconds to escape. Begin your walkthrough by locating every smoke detector and carbon monoxide detector in the apartment. Press the test button on each unit until the alarm sounds. If the unit fails to beep, the batteries likely need replacement, or the device has reached the end of its operational lifespan.

    Notify your landlord immediately if an alarm is missing, broken, or continuously chirping despite fresh batteries. Federal guidelines and local housing codes generally require landlords to provide functioning smoke detectors, but tenants often hold responsibility for reporting malfunctions or swapping standard batteries. Never remove batteries from an alarm to stop nuisance activations from cooking; instead, use a temporary fan or open a window during meal preparation.

    Clear Exits and Windows

    In an emergency, every second counts, and blocked pathways can trap you inside your home. Inspect all primary exit doors and secondary egress routes, such as bedroom windows and balcony doors, to ensure they remain completely unobstructed. Move heavy furniture, storage boxes, or decorative items that might impede your ability to open a door or window quickly.

    Test every window and door along your escape routes to confirm they open smoothly. Painted-shut windows or rusted sliding door tracks can prevent escape during a fire. If you live on an upper floor, check that window security bars feature quick-release mechanisms that do not require specialized tools or keys. Keep emergency ladders, if stored in the apartment, in an easily accessible location rather than tucked away in the back of a deep storage closet.

    Evaluate Electrical Cord Safety and Outlets

    Overloaded electrical outlets and damaged cords rank among the leading causes of residential electrical fires. Walk through each room and inspect the condition of all visible power cords, extension cords, and power strips. Discard any cords that show frayed insulation, exposed wires, or bent prongs. Avoid running extension cords underneath area rugs or carpets, as this traps heat and can ignite the surrounding fabric.

    Check wall outlets for signs of damage, such as discoloration, scorch marks, or loose fittings where plugs easily slip out. Avoid daisy-chaining multiple power strips or plugging high-wattage heating appliances into standard multi-plug adapters. State that the renter should check their lease and surface/manufacturer instructions before adhesives or heavy loads when mounting power strips or cord management channels to walls or baseboards.

    • Inspect power cords for fraying or exposed copper wire
    • Keep extension cords entirely uncovered and off the floor
    • Report discolored or sparking electrical outlets to management

    Manage Kitchen Heat Sources

    The kitchen serves as the primary origin point for many domestic fires, making it a crucial zone for safety checks. Inspect the stovetop and surrounding counter space to ensure that flammable items—such as paper towels, dish towels, plastic bags, and wooden utensils—stay safely away from burners. Grease buildup on stove grates and inside the oven also poses a significant risk, so maintain a regular cleaning schedule to remove food residue.

    Never leave cooking food unattended, especially when using high heat, frying, or boiling liquids. If you must leave the kitchen, turn off the burner until you return. Keep a proper pan lid or a baking sheet nearby to smother small grease fires instantly. Never attempt to extinguish a grease fire with water, as water causes burning oil to splatter and spread rapidly.

    Review Candle and Heating Habits

    Open flames and portable heating devices require strict safety boundaries inside rented spaces. If you use candles, keep them away from drafts, curtains, blankets, and high-traffic areas where they might get knocked over. Always extinguish candles completely before leaving the room or going to sleep. Whenever possible, swap traditional candles for battery-operated flameless alternatives to eliminate the open flame hazard entirely.

    Portable space heaters demand careful placement to prevent localized fires. Position space heaters on a flat, level, hard surface rather than on carpets, rugs, or bedding. Maintain a safe clearance zone of at least three feet around the unit, keeping it away from upholstered furniture, clothing, and papers. Always plug space heaters directly into a wall outlet rather than an extension cord, and turn them off whenever you leave the room or head to bed.

    Establish a Personal Fire Escape Plan

    Physical safety equipment means little without a clear, practiced plan of action. Map out at least two distinct escape routes from every room in your apartment, accounting for the possibility that your primary hallway or doorway might be blocked by smoke or fire. Determine a designated meeting place outside the building, such as a specific tree, mailbox, or corner, where all household members will gather.

    Review building-specific evacuation procedures provided in your lease or posted in common areas like stairwells and lobbies. Ensure all members of your household, including children and roommates, understand what the building alarm sounds like and what steps to take upon hearing it. Regular mental walkthroughs of your escape plan help ensure a calm, rapid response if an emergency ever occurs.

    Further reading

  • The Renter’s Move-Out Reset

    The Renter’s Move-Out Reset

    Start With a Timeline and a Trash Strategy

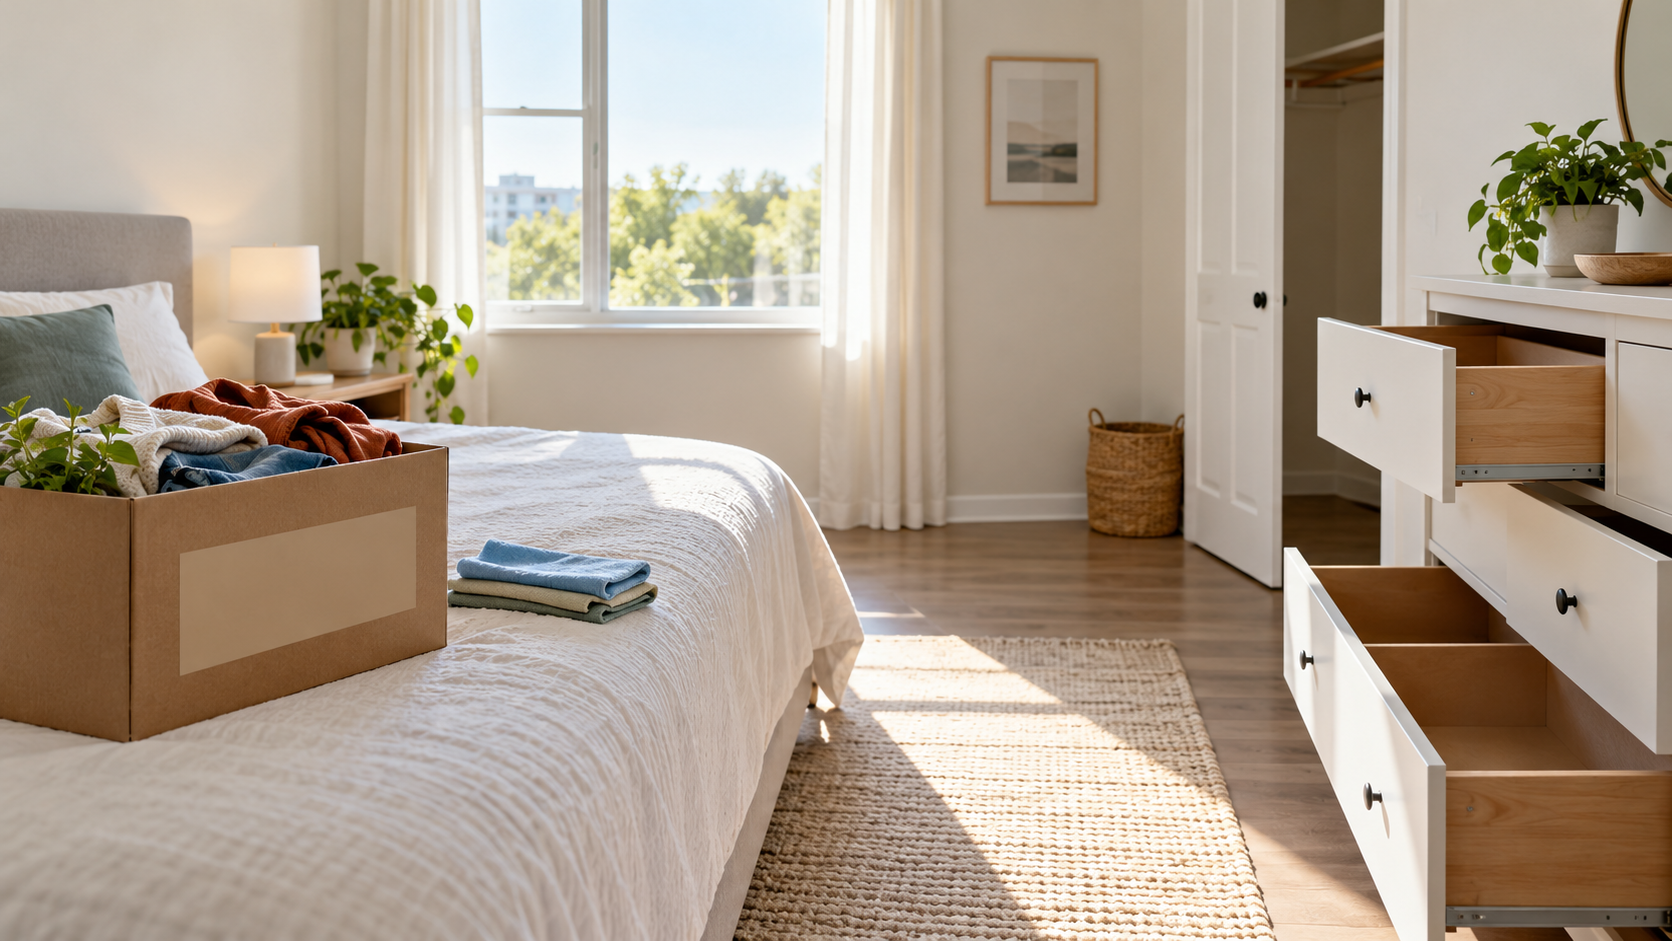
    Moving out of a rental property rarely happens overnight. To avoid the midnight panic of scrubbing baseboards while your packed boxes block the front door, break the process down into a multi-day timeline. Begin two weeks before your lease end by sorting through belongings, listing items for donation, and packing non-essential items like out-of-season clothing and decorative art. Renters often underestimate how much trash they will generate. Coordinate with your building management or local waste services ahead of time regarding bulk trash pickup days so you do not leave unwanted furniture or overflowing bags by the curb, which can result in fines.

    Before you lift a single sponge, review your original lease agreement alongside the condition report you filled out when you first moved in. Note any pre-existing damage so you do not spend time trying to fix flaws that were already there. Always check your lease and surface or manufacturer instructions before using adhesives, hanging hooks, or attempting heavy cleaning methods on specialized surfaces like natural stone or laminate.

    The Kitchen: Degreasing Appliances and Cabinets

    The kitchen demands the most intensive cleaning effort because of grease buildup around the stove, food remnants inside appliances, and sticky spots on cabinet doors. Empty all cupboards and drawers completely, wiping down the interior shelving with a damp cloth and mild dish soap to remove crumbs and spills. Pay close attention to the pantry and under-sink areas, where leaks or residue often hide.

    Tackle large appliances systematically:

    • Refrigerator: Unplug the unit, remove all shelves and drawers, and wash them with warm soapy water. Wipe down the interior walls and door seals, leaving the door propped open slightly after drying to prevent mildew odors.
    • Oven and Stove: Remove burner grates and drip pans. Apply a generic surface cleaner or paste according to the manufacturer’s guidelines, let it sit to loosen baked-on grease, and scrub gently to avoid scratching enamel.
    • Dishwasher and Microwave: Wipe the interior of the microwave and run a short cycle in the dishwasher using a generic cleaner to clear out food particles from the filter and spray arms.

    Bathrooms: Tackling Soap Scum and Grout

    Bathrooms accumulate soap scum, hard water spots, and mildew over weeks of daily use. Begin by clearing out all personal toiletries, medicine cabinets, and under-sink storage. Wipe down the interior of all vanity drawers and medicine cabinet mirrors.

    For tubs, showers, and tile walls, apply a generic bathroom cleaner and allow it to penetrate soap scum before scrubbing with a non-abrasive pad. Rinse thoroughly with warm water to prevent a hazy residue from drying on the tiles. Clean the toilet thoroughly, including the base, tank, and behind the seat hinges. Finish by polishing the faucets and showerheads with a microfiber cloth to remove water spots, and sweep and mop the floor, starting from the corner farthest from the door.

    Living Areas and Bedrooms: Walls, Baseboards, and Closets

    Living rooms and bedrooms generally require less heavy scrubbing than kitchens and bathrooms, but they involve detailed surface work. Start by removing any wall anchors or nails. Always check your lease and surface or manufacturer instructions before using adhesives, fillers, or paints. If your lease permits minor patching, fill nail holes with a generic spackle using a putty knife, let it dry completely, and sand it flush with the surrounding wall. Avoid repainting unless you have explicit, written approval from your landlord and the exact color match.

    Work your way from top to ceiling fixtures, dusting fan blades and light fixtures. Next, clean windowsills and blinds by wiping them down with a damp cloth. Check the inside of every closet, ensuring no stray hangers, shelving liners, or personal items are left behind. Finally, vacuum carpets thoroughly, moving slowly in overlapping passes to pick up embedded dust and pet hair. If you rent a carpet cleaning machine, ensure the carpets have enough time to dry entirely before your final walkthrough.

    Final Walkthrough and Key Handover

    The final phase of your move-out reset is the walkthrough inspection, which secures your security deposit return. Walk through every empty room with your move-in checklist in hand. Test all light switches, check that all windows and doors are securely locked, and ensure no trash or personal property remains in storage lockers or parking spaces.

    Take clear, well-lit photographs of every room, including inside the appliances, closets, and any repaired areas, to create an objective record of the property’s condition upon your departure. Gather all sets of keys, garage door openers, pool passes, and parking permits into a single envelope to hand directly to your landlord or property manager. Confirm your forwarding address in writing so your security deposit can be mailed without delay.